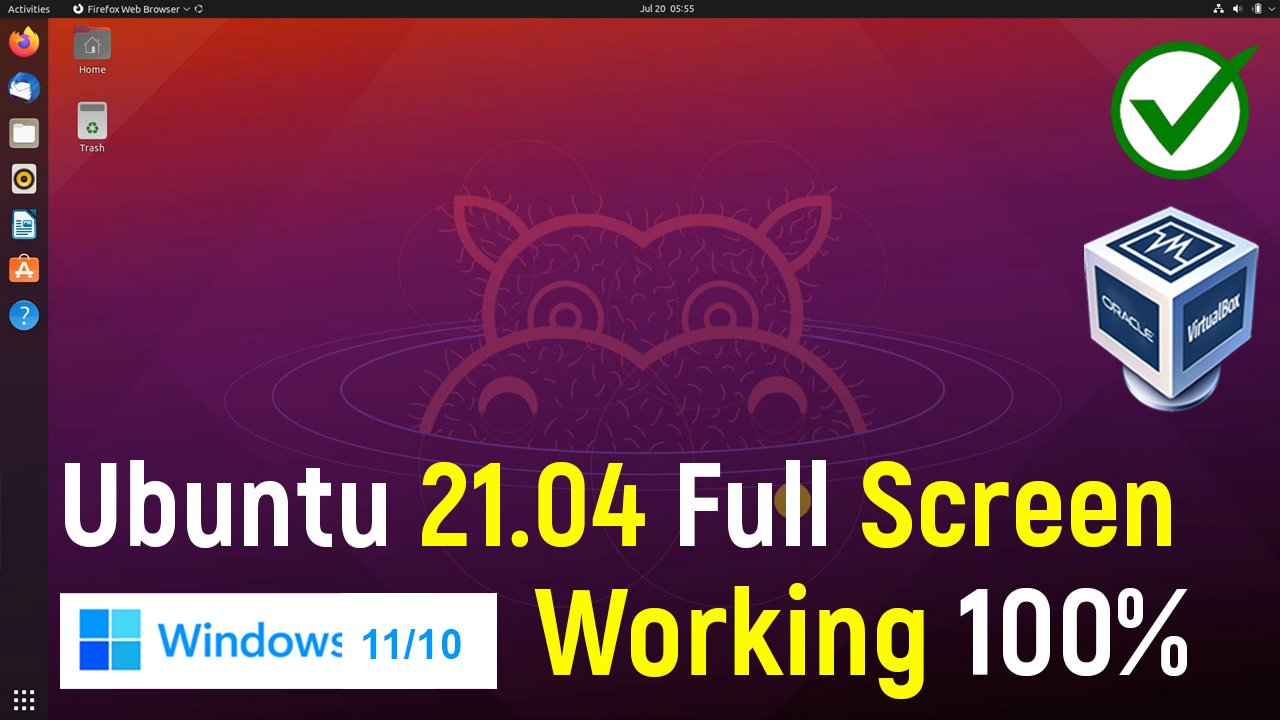
How to Make Ubuntu Fullscreen in VirtualBox: Running Ubuntu as a virtual machine in VirtualBox provides a convenient way to explore the Linux operating system without the need for dedicated hardware. However, by default, the Ubuntu virtual machine may not automatically adjust to fullscreen mode, resulting in a limited display size. In this blog post, we will guide you through the steps to make Ubuntu fullscreen in VirtualBox, ensuring a more immersive and productive experience.
Prerequisites
How to Make Ubuntu Fullscreen in VirtualBox
Step 1: Start the Ubuntu Virtual Machine: Launch VirtualBox and select your Ubuntu virtual machine from the list. Click on the “Start” button to power on the virtual machine.
Step 2: Install VirtualBox Guest Additions: To enable fullscreen mode and improve integration between the host and guest systems, we need to install VirtualBox Guest Additions in the Ubuntu virtual machine. With the virtual machine running, go to the “Devices” menu in the VirtualBox window and select “Insert Guest Additions CD image.” This will mount the Guest Additions ISO file within the virtual machine.
Step 3: Open Terminal in Ubuntu: In the Ubuntu virtual machine, open the Terminal application. You can do this by pressing Ctrl+Alt+T on your keyboard or by searching for “Terminal” in the Ubuntu applications menu.
Step 4: Install Required Packages: In the Terminal, enter the following command to install the necessary packages for building and installing the VirtualBox Guest Additions:
sudo apt-get install build-essential dkms linux-headers-generic
Enter your password when prompted and wait for the installation to complete.
Step 5: Navigate to the Mounted ISO: Next, we need to navigate to the mounted Guest Additions ISO. In the Terminal, enter the following command:
cd /media/<your-username>/VBOXADDITIONS_<version>
Replace <your-username> with your Ubuntu username and <version> with the version number of the Guest Additions.
Step 6: Run the Guest Additions Installer: To install the Guest Additions, enter the following command in the Terminal:
sudo ./VBoxLinuxAdditions.run
This will initiate the installation process. Follow the on-screen instructions and provide your password when prompted.
Step 7: Restart the Virtual Machine: After the Guest Additions installation is complete, restart the Ubuntu virtual machine. You can do this by selecting “Restart” from the Ubuntu menu or by entering the following command in the Terminal:
sudo reboot
Step 8: Enable Fullscreen Mode: Once the virtual machine has restarted, go to the “View” menu in the VirtualBox window and select “Switch to Fullscreen” or use the shortcut Host (Right Ctrl) + F.
Your Ubuntu virtual machine should now seamlessly transition into fullscreen mode, utilizing the entire screen of your host machine.
Conclusion
By following these step-by-step instructions, you can make your Ubuntu virtual machine fullscreen in VirtualBox, providing a more immersive and spacious workspace. The VirtualBox Guest Additions enhance the integration and functionality between the host and guest systems, improving the overall virtualization experience. Enjoy exploring Ubuntu in fullscreen mode within VirtualBox and leverage the power of virtualization for your Linux endeavors.
Rate post


Add comment