How To Download and Install Inkscape On Windows 11 or Windows 10 PC or Laptop. Inkscape is a Free and open source vector graphics editor that runs on Windows, Linux and MacOS X.
In this article I will be taking you through the steps on how to download and install Inkscape on Windows 11 PC or Laptop.
How to Install Inkscape on Windows 11 PC or Laptop
Here is a step by step guide on how to install Inkscape on Windows 11 PC or Laptop.
Step 1: Go to the official Inkscape website using a web browser of your choice and navigate to the DOWNLOAD menu. On the dropdown menu click on Current Version.

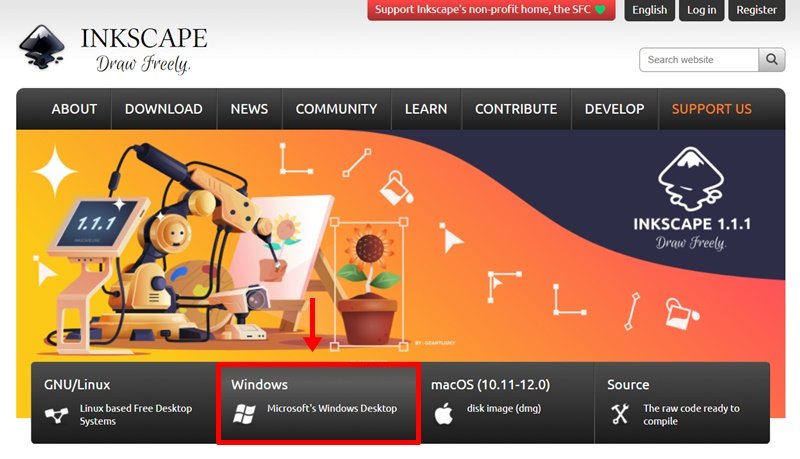
Step 2: On the next page, click on the Windows version as shown below.
Step 3: Next, before your proceed to the next step, you need to confirm if you are using a 64 bit or a 32 bit system. This is covered on the video tutorial above. In my case I will download the 64 bit architecture.

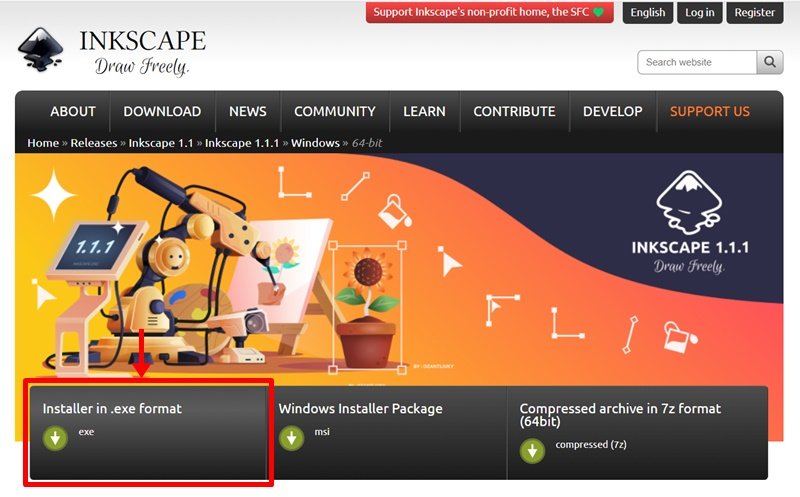
Step 4: On the next page, click on Installer in .exe format to download Inkscape setup file.
Step 5: Next, click on Save.

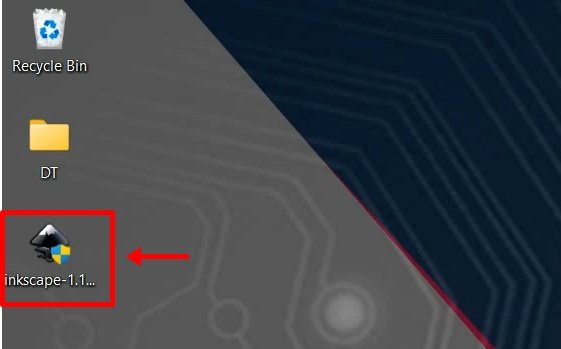
Step 6: Once the download is complete, locate the inkscape setup file. Double click on it to start the installation process. It will ask for making changes to your system, click on Yes.
Step 7: Click Next on the setup wizard window.

Step 8: Next, agree to the License Agreement by clicking on I Agree.

Step 9: Check the box for Add Inkscape to the system path for all users, and also check the box for create a desktop icon and then click on the Next button.

Step 10: Next, choose the installation location and click on Next.
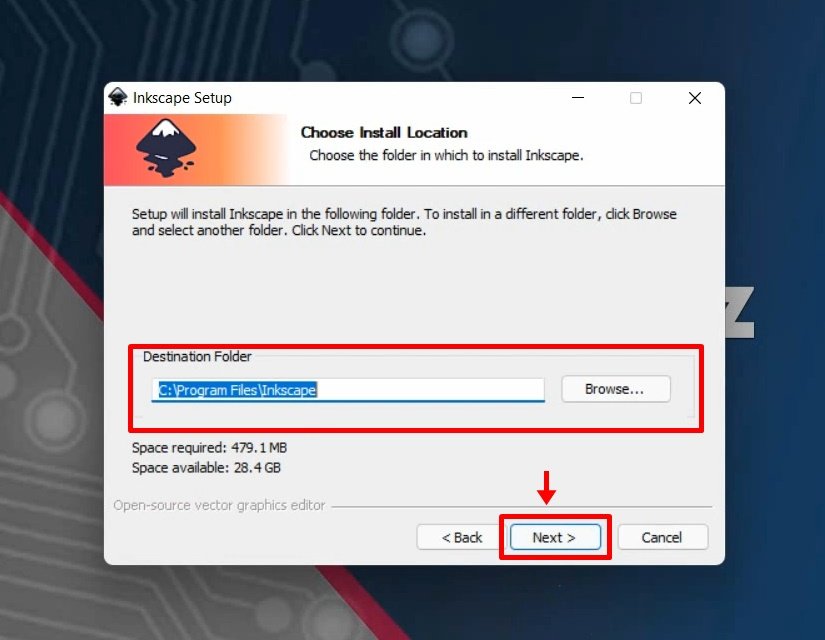
Step 10: Choose Start menu folder or just click on Next Button.

Step 11: The next screen is of choosing components, all components are already marked so just click on Install button.

Step 12: Give time for the installation process to complete.

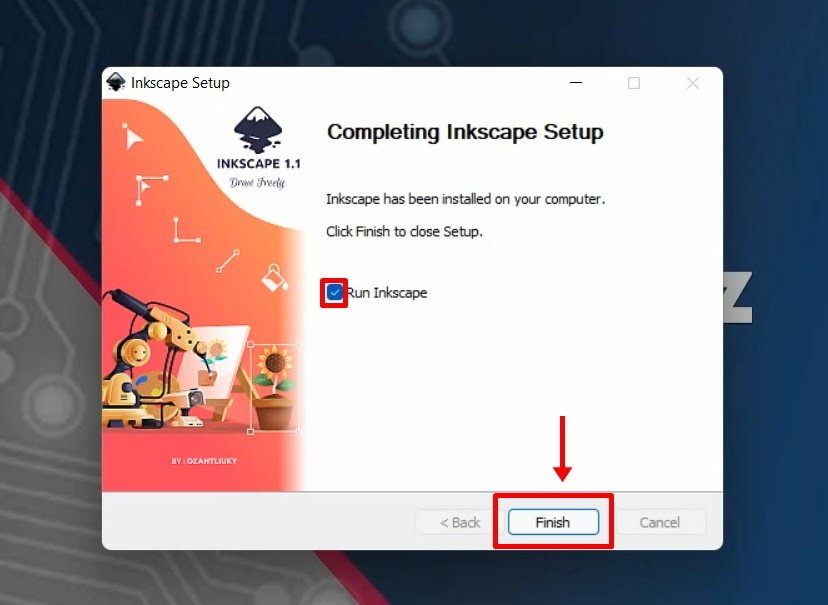
Step 13: When done, click on Finish. You have successfully installed Inkscape is on your Windows 11 PC. Launch it by double clicking on the Inkscape icon on your desktop.

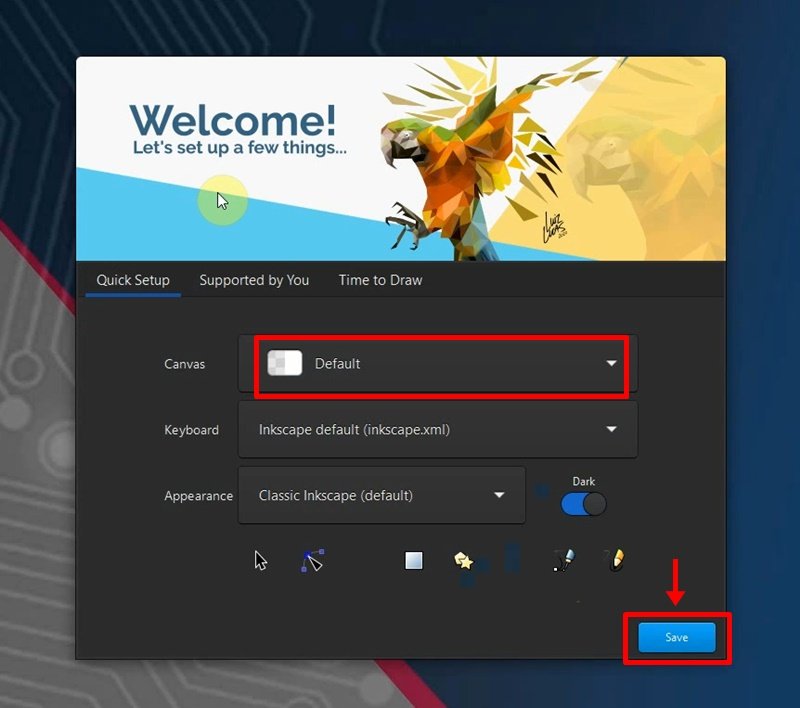
Step 14: Choose Canvas size and click on Save button.
Step 15: On next screen click on Thanks.

Step 16: Next, uncheck Show this every time and click on New Document.

Congratulations!! At this point, you have successfully installed Inkscape on your windows system.

Watch the step by step video tutorial below to how to download and install Inkscape on Windows 11 or Windows 10 PC or Laptop.
Rate post


