How to Download & Install Visual Studio 2022 on Windows 11 PC: Do you want to install Visual Studio 2022 on your Windows 11 PC? In this article I will take you through the steps on how to download and install Visual Studio 2022 on Windows 11 or Windows 10 PC.
How to Install Visual Studio 2022 on Windows 11 PC
Step 1 – Download Visual Studio
To download Visual Studio 2022, go to the official Visual Studio 2022 download page and choose the edition of Visual Studio that you want, and then save to your Downloads folder.

Step 2 – Install the Visual Studio Installer
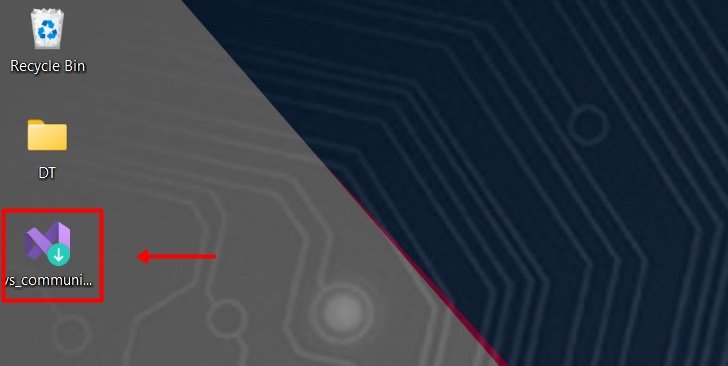
Double click on the setup file to start the installation process.
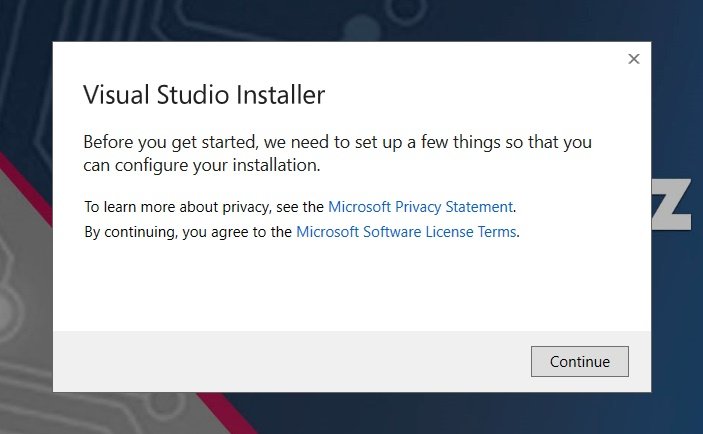
If you receive a User Account Control notice, choose Yes. We’ll ask you to acknowledge the Microsoft License Terms and the Microsoft Privacy Statement. Choose Continue.
Step 3 – Choose workloads
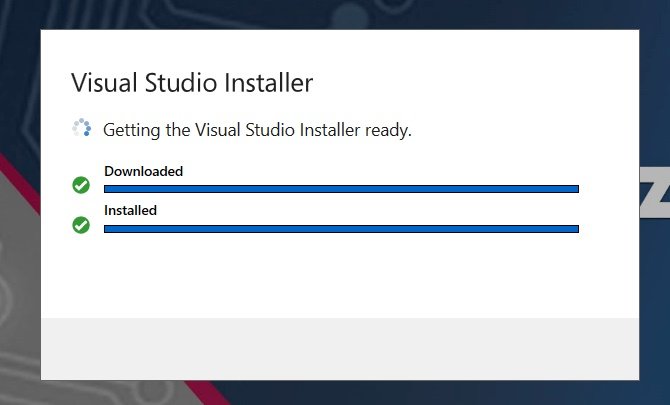
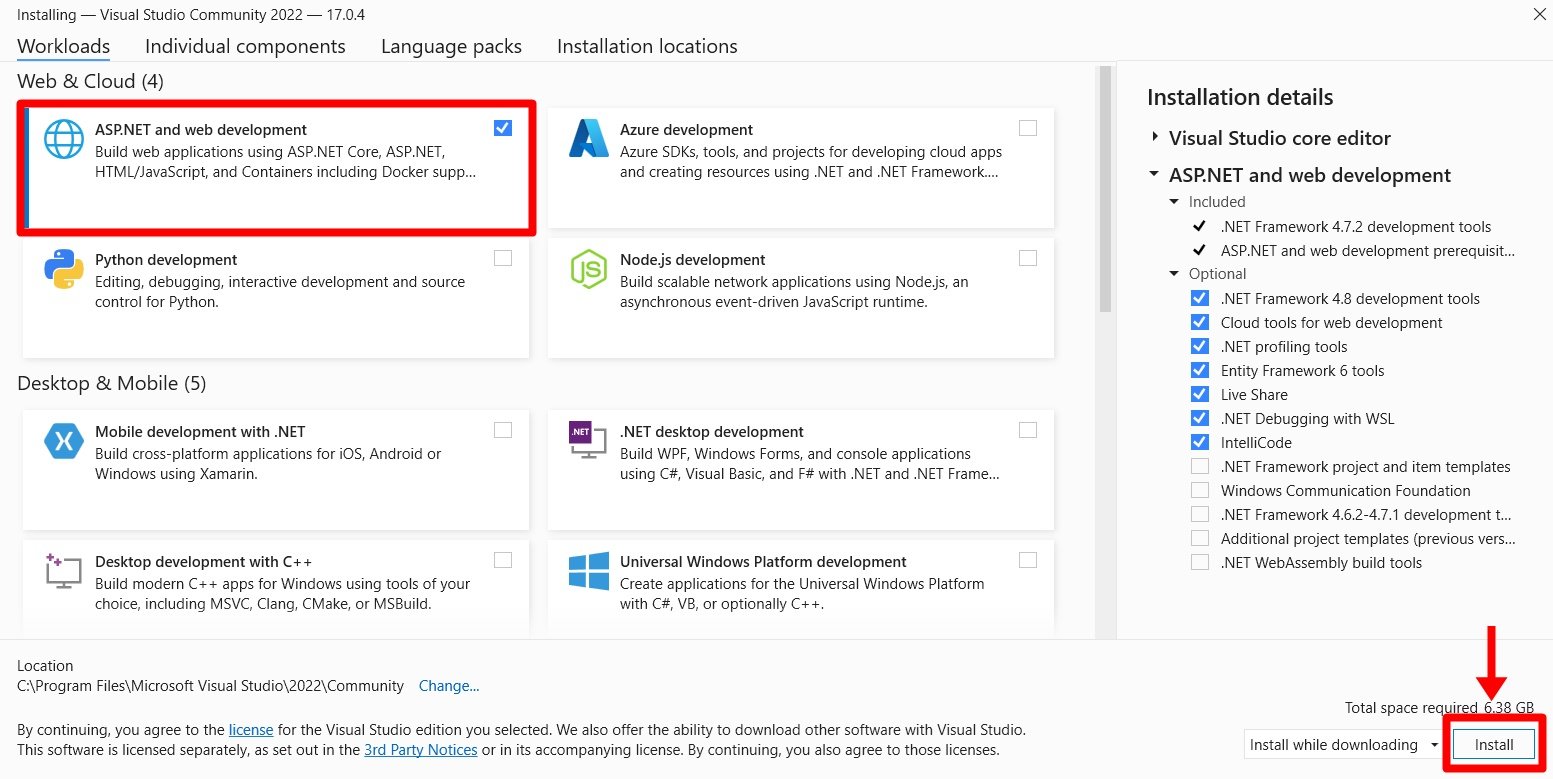
After the installer is installed, select the workload you want in the Visual Studio 2022 Installer. After you choose the workload(s) you want, click on Install.
 Next, status screens appear that show the progress of your Visual Studio installation.


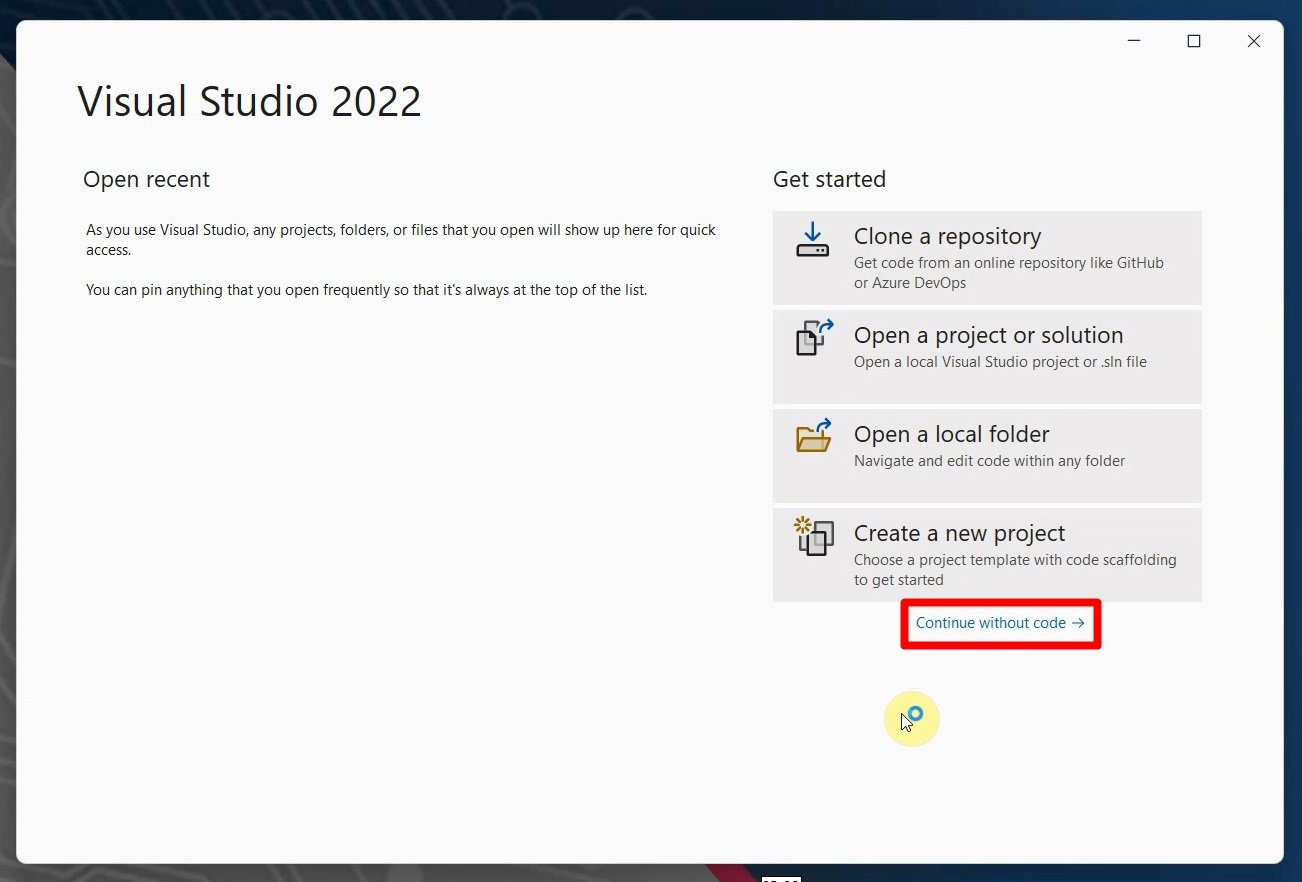
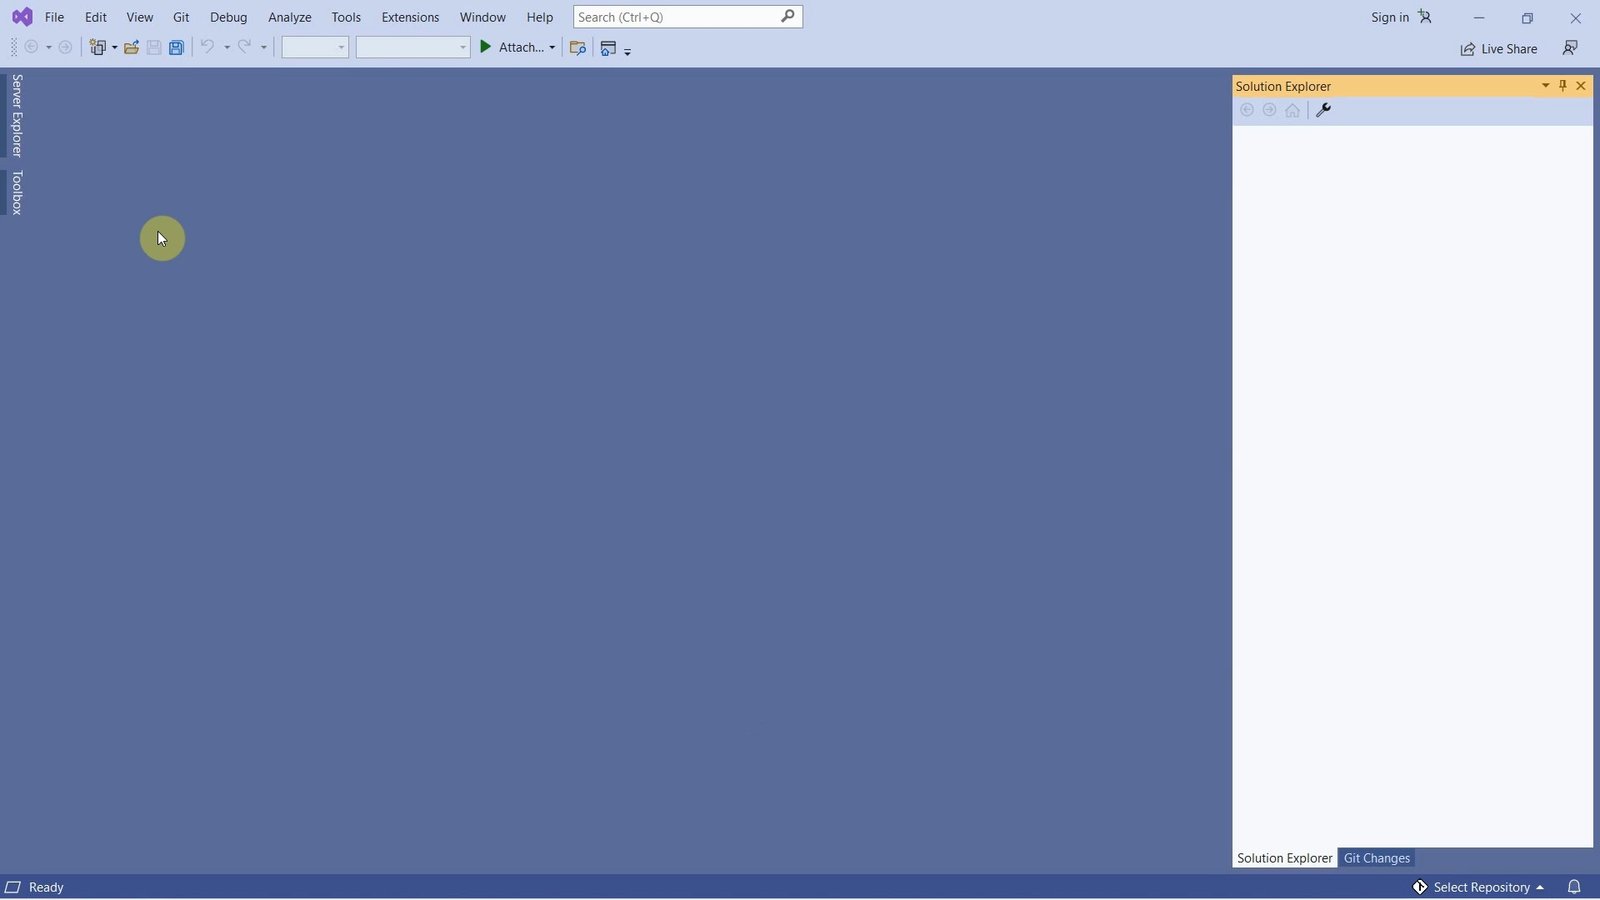
NOTE: At any time after installation, you can install workloads or components that you didn’t install initially. If you have Visual Studio open, go to Tools > Get Tools and Features… which opens the Visual Studio Installer. Or, open the Visual Studio Installer from the Start menu. From there, you can choose the workloads or components that you wish to install. Then, choose Modify.
Rate post


